
Christmas is just around the corner and it’s time to start thinking about gifts. I always try–keyword try–to make something for the girls each year. In the past I’ve made Jess Brown style rag dolls, a pretend make-up kit, hand painted blocks, homemade memory game, + nightgowns.
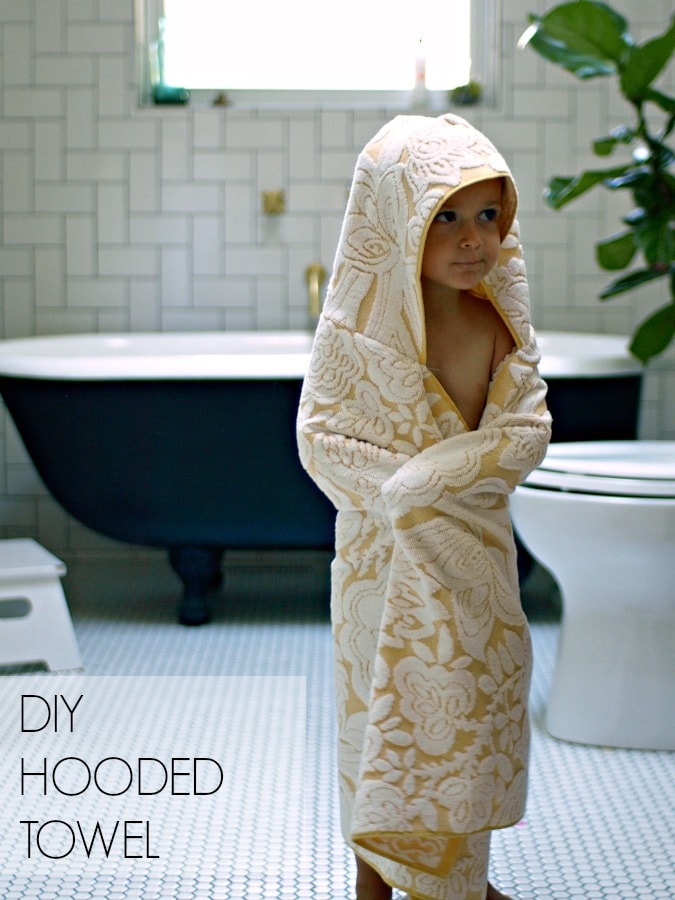
This year I decided to do hooded towels for the girls and I thought I’d post the hooded towel tutorial here. I know that towels don’t typically excite children, but I actually think my kids will love these. First they love anything cozy. Second the they’re into the whole matching-sister-thing but still having an individual look. The other great thing is that these towels can be made in 20 minutes or less each. Really! So fast. I found these beautiful towels at Target (yellow, pink and turquoise) and if you hurry you can still find them at your local store.
Supplies:
1 hand towel and 1 regular towel for each hooded towel
regular sewing supplies–scissors, pins, thread, ruler, sewing machine
Instructions:
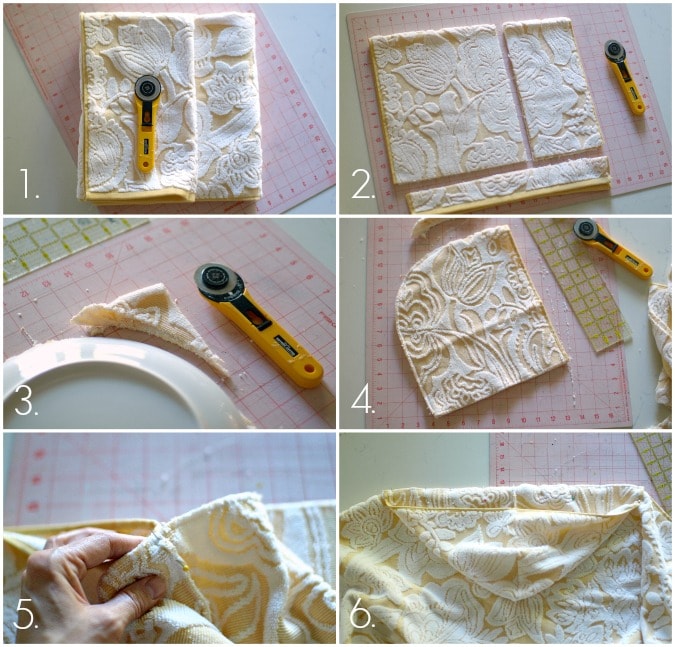
1. Gather your supplies. Cutting mat and rotary cutter a plus, but not necessary.
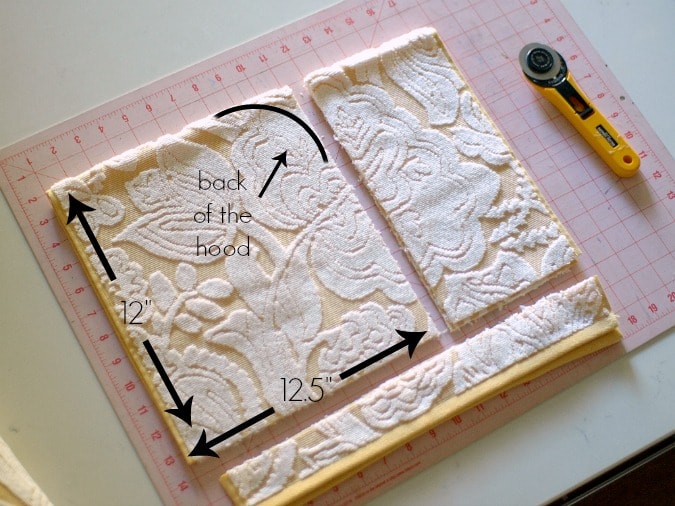
2. Fold your hand towel in half. The finished edge along the front is going to be the finished edge of the hood. Cut bottom portion off the towel so that the height is 12″ tall. (You can make this smaller for smaller kids. I used these proportions for my 9 year old). Then cut the back portion off so the width of the hood is 12.5″. Again, I cut both of these measurements smaller for my 6 and 2 year old–about 11″X10.5″ respectively. Try it out by placing it on your kids head with the back pinned together. The sides should come to the shoulders and the front of the hood should come past the face.
3. To cut a curve in the back of the hood place a plate (a dinner plate with have better proportions than a salad plate) in the corner and cut along the side of the plate.
4. Keep hood piece folded in half with right sides together and pin along the back of the hood. With a regular sewing matching zig-zag stitch along the back. If you have a serger, serge along the back seam. When you open up your hood either zig-zag stick along the raw edge of the bottom, or serge along the raw edge of the towel.
5. Now grab your large towel and fold it in half along the long side. Find the half-way point of your towel and pin the seam of your new hood on the mid point. Again, make sure the right side of the hood and the right side of the towel are touching.
6. Spread the hood out along the side of the towel and finish pinning in place. Then sew the hood to the towel and you’re done!
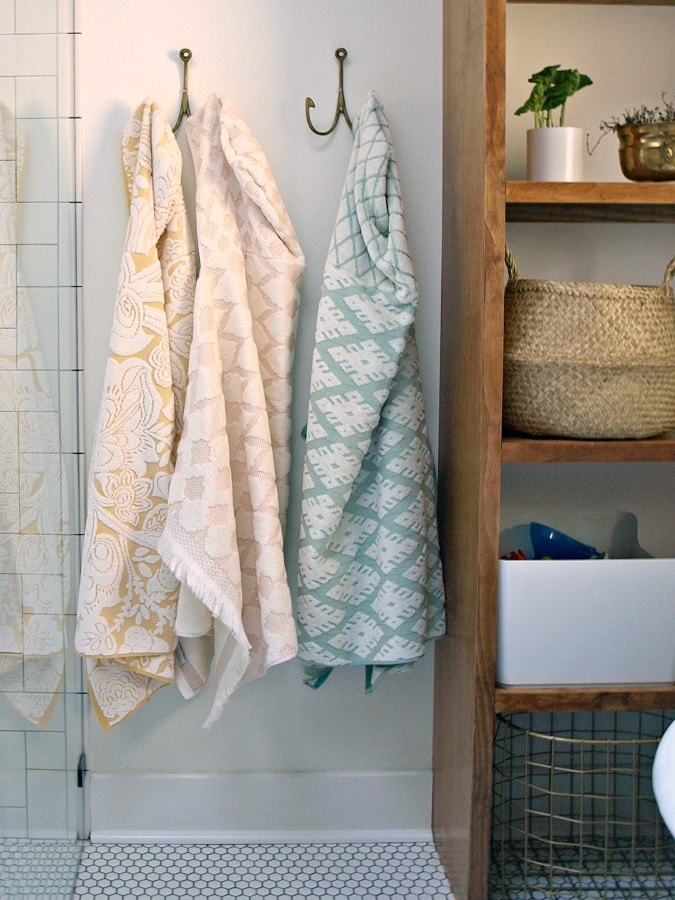

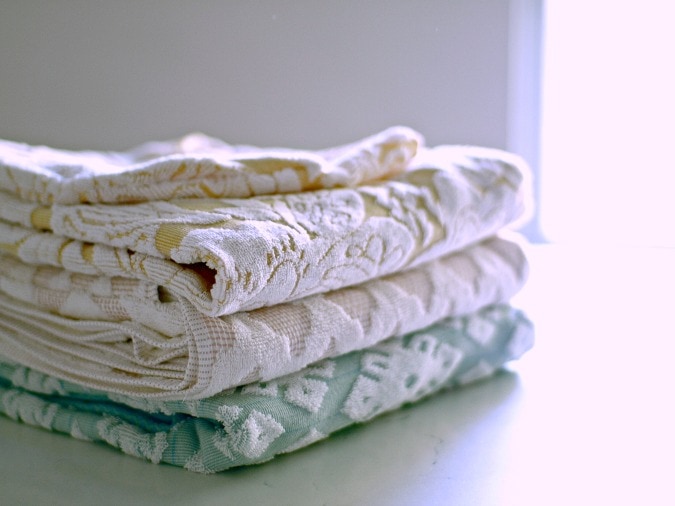
I love how all three of these hooded towels look individually and as a set. These towels come together so fast and in addition to a great DIY Christmas gift they would also be excellent baby shower or birthday gifts!
Happy sewing!
XO,
Miggy
p.s. If any of you have been following along with me on Instagram you know that I have a lot of thoughts and feelings about the election. I am going to do a blog post sometime, but for now my head and heart need a break from the serious issues of the world. I just wanted you to know I wasn’t glossing over anything. XO

Following and waiting for your healing words…Catherine
Hi Miggy, I don't do instagram, but I just clicked on your instagram link above. I totally do what you do, providing a shield for my daughter with autism when people stare for a long time. The thing is, when we stare back at them while we are next to our kid to show them how obnoxious they are being, they are so busy staring at our kid, they don't even notice it. Young and old, it's the same. It is so weird. I will admit with no shame at all, because I have had enough of them, that I have even said to them "the dancing monkeys are next" and I have rubbed my nose with my middle finger while staring back at them.
Mel in Colorado
You are inspiring! Thank you for sharing your DIY idea. I’m going to try this out for my 9 month old and 3 year old.